


Installation of a PRTG Core Server
Installing the software is similar to other Windows-based applications. To install the application please run the installation setup routine from the ZIP file that you have downloaded.
The usual software installation wizard will guide your through the installation process:
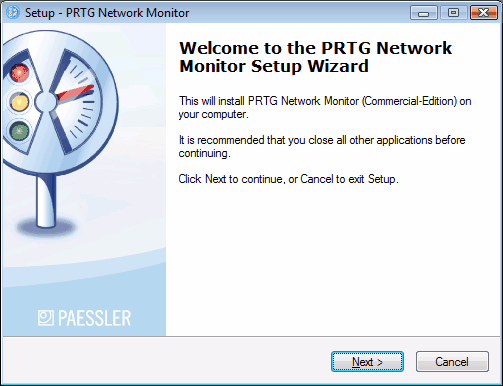
Please click "Next" to walk through the wizard. After accepting the license agreement, you can choose the folder you wish to install the software in. As soon as you click "Next", the necessary files will be copied to your disk and a dialog asking for your license type will appear.
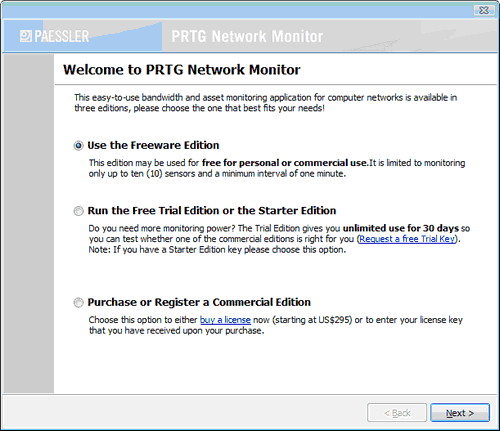
Please select the proper option and enter the necessary data.
Afterwards you will see a dialog with some base settings:
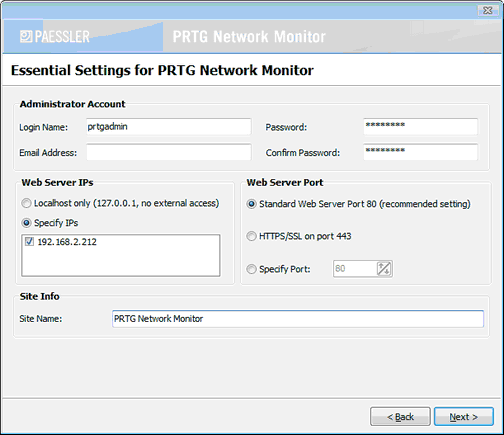
Usually the only edit field that you need to look at is the "Email Address" field. Please enter your email address here.
You may also want to review and edit the following settings:
- Optionally you can provide a "Login Name" and "Password" of your choice (the default is username "prtgadmin" and password "prtgadmin"). Selecting a private password is especially important if you plan to make your PRTG website available on the Internet.
- Please review the "Web Server IPs" and "Web Server Ports" settings. In most cases the default values should be fine.
- Optionally you can enter a custom "Site Name" for your PRTG website (e.g. "My Company Monitoring").
Please click "Next" one more time to finish the installation. When the installation is complete, the computer may ask you to restart the machine to properly complete the installation. Although you can choose to reboot later, it is strongly recommended to reboot the machine right away to fully complete the installation.
That's it. You can now work with PRTG Network Monitor!
Keywords: Installation,Setup